7 Steps to Automate Your Entire Client Onboarding Process
Key takeaways
When you’re onboarding clients manually, it can be really messy and difficult to keep track of. You have client details, forms, contracts, and payments spread across inboxes, folders, and spreadsheets, and it’s easy to lose track of what’s been sent, signed, or paid.
Plus, you’re having to remember and manually send every email, follow-up, invoice, and contract. If you’re juggling multiple clients, there’s a risk of delays and forgotten steps.
Automating your operation and using onboarding tools can transform everything by keeping all your client information in one place, reducing repetitive manual tasks, and providing a consistently professional experience for each client. Plus, you’ll be in a better position to scale if the opportunity arises.
This article will explore how you automate client onboarding and give you some top tips for making the migration.
Let’s dive in:
Before migrating to an automated operation
If you’ve been doing things manually for years, automation will be a big change. There are a few things to bear in mind before you make the switch, ensuring you’re as prepared as possible.
First, it’s a good idea to map out your current onboarding flow. For example:
Receiving an inquiry > Sending a welcome email > Booking a call > Sharing a proposal > Getting a signed contract > Sending an invoice
Once your process is crystal clear, you then have a framework laid out for what could be automated.
Next, create a list of all the materials you currently use. These could include:
- Email templates
- Contracts
- Proposals
- Intake forms or questionnaires
- Invoices
- Spreadsheets with client data
You’ll be able to repurpose a lot of these materials, and it’s great to have an inventory of what you’re working with.
Next, outline the steps you go through with every client. As they’re repeated every time, these are ideal things to automate. Get a list going of things like invoice templates, welcome emails, and scheduling meetings.
If you want to enter the automated world gently, you can totally do this gradually. First, think about the areas of client onboarding that aren’t working for you – what is slowing you down, and where do clients get confused? You could prioritise these elements without changing everything.
In addition, you might like to pick your most common service if you offer multiple. This way, you’re only testing and refining one onboarding process instead of everything at once.
![]()
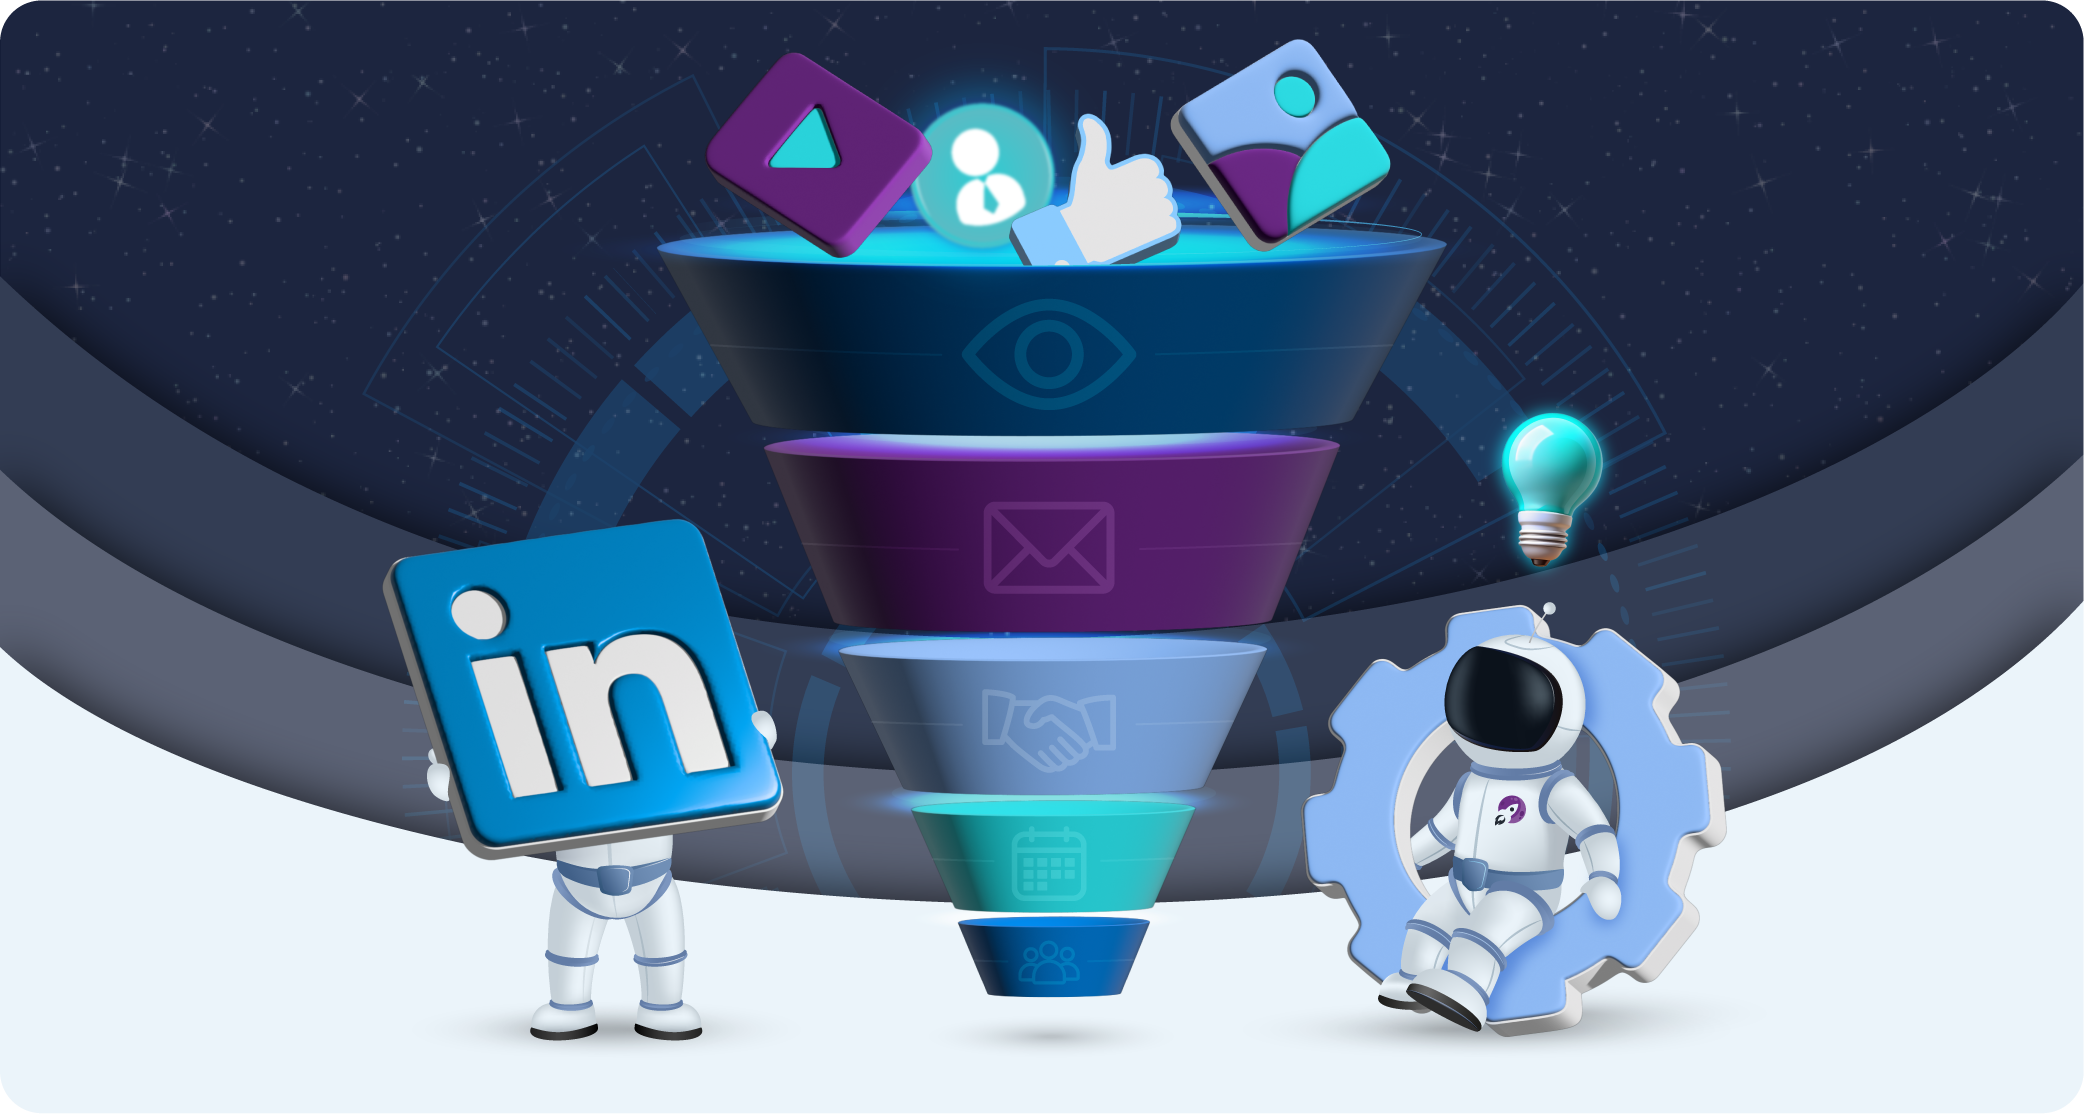
Automating your client onboarding process in 7 steps
To successfully move to automation in your client onboarding workflow, there are a few things that must happen. What follows is an outline of 7 steps you can use to form your plan:
1. Pick a tool that works for you
There are a few tools out there ideal for automating client onboarding, but they vary in their offerings. The one for you will depend on your workflow, business size, service type, project management style, and volume of new clients. Later in this article, we’ll explore these tools in more detail.
You might prefer to use free trials to get a feel for different tools, comparing their features and suitability for your business.
2. Set up your services and packages
If you’ve already decided which services and workflows you’re automating, it’s time to map out:
- Each step clients take per service you offer
- What your clients are booking or buying
- What information needs to be sent (e.g., proposals and invoices)
- How much will it cost
- What automated workflows must be triggered for each service
This step ensures your proposals, invoices, and other onboarding steps are automated and that each one has its own workflow.
3. Create your templates
As we mentioned earlier, you can save time on this step by repurposing existing templates. These could be:
- Emails: Inquiry response, welcome email, reminders, and onboarding instructions
- Contracts: Standard service agreements or terms
- Proposals and questionnaires: Client-facing documents to approve services or share information
- Invoices: Pre-built with correct services and payment terms
Getting these templates sorted is key in what will ultimately save you time down the line, and now, your workflows will have something to plug into. Your automations won’t be able to run properly without this step.
4. Build an automation sequence
Next, map out a step-by-step automated process that mirrors your current manual flow. For example:
Trigger: Client fills out your inquiry form
Step 1: Send an automated email thanking them and sharing a scheduling link
Step 2: When they book a call, create a task for you to prepare for it
Step 3: After the call is marked ‘Complete’, send a proposal + contract + invoice
Step 4: When the contract is signed and payment is received, send a welcome email
Step 5: Change project status to ‘Active’ or ‘In Progress’
Most tools let you set conditions, delays, and automated actions to create a workflow like this. You should have free rein to set whatever unique conditions pertain to your business operations. For example, you may have quite a long lead nurturing process for more expensive services.
5. Set up your lead capturing
Make sure leads are brought into your system automatically by embedding a contact (or lead capture) form on your website. You could also integrate a scheduling tool directly to your website to allow clients to book discovery calls with you without emailing first. You can set up automatic confirmation emails for these discovery calls and consultations.
You’ll want to set up your automations to create new projects or tasks for each lead, triggering the onboarding workflow. Most client onboarding tools will have a form builder you can use.
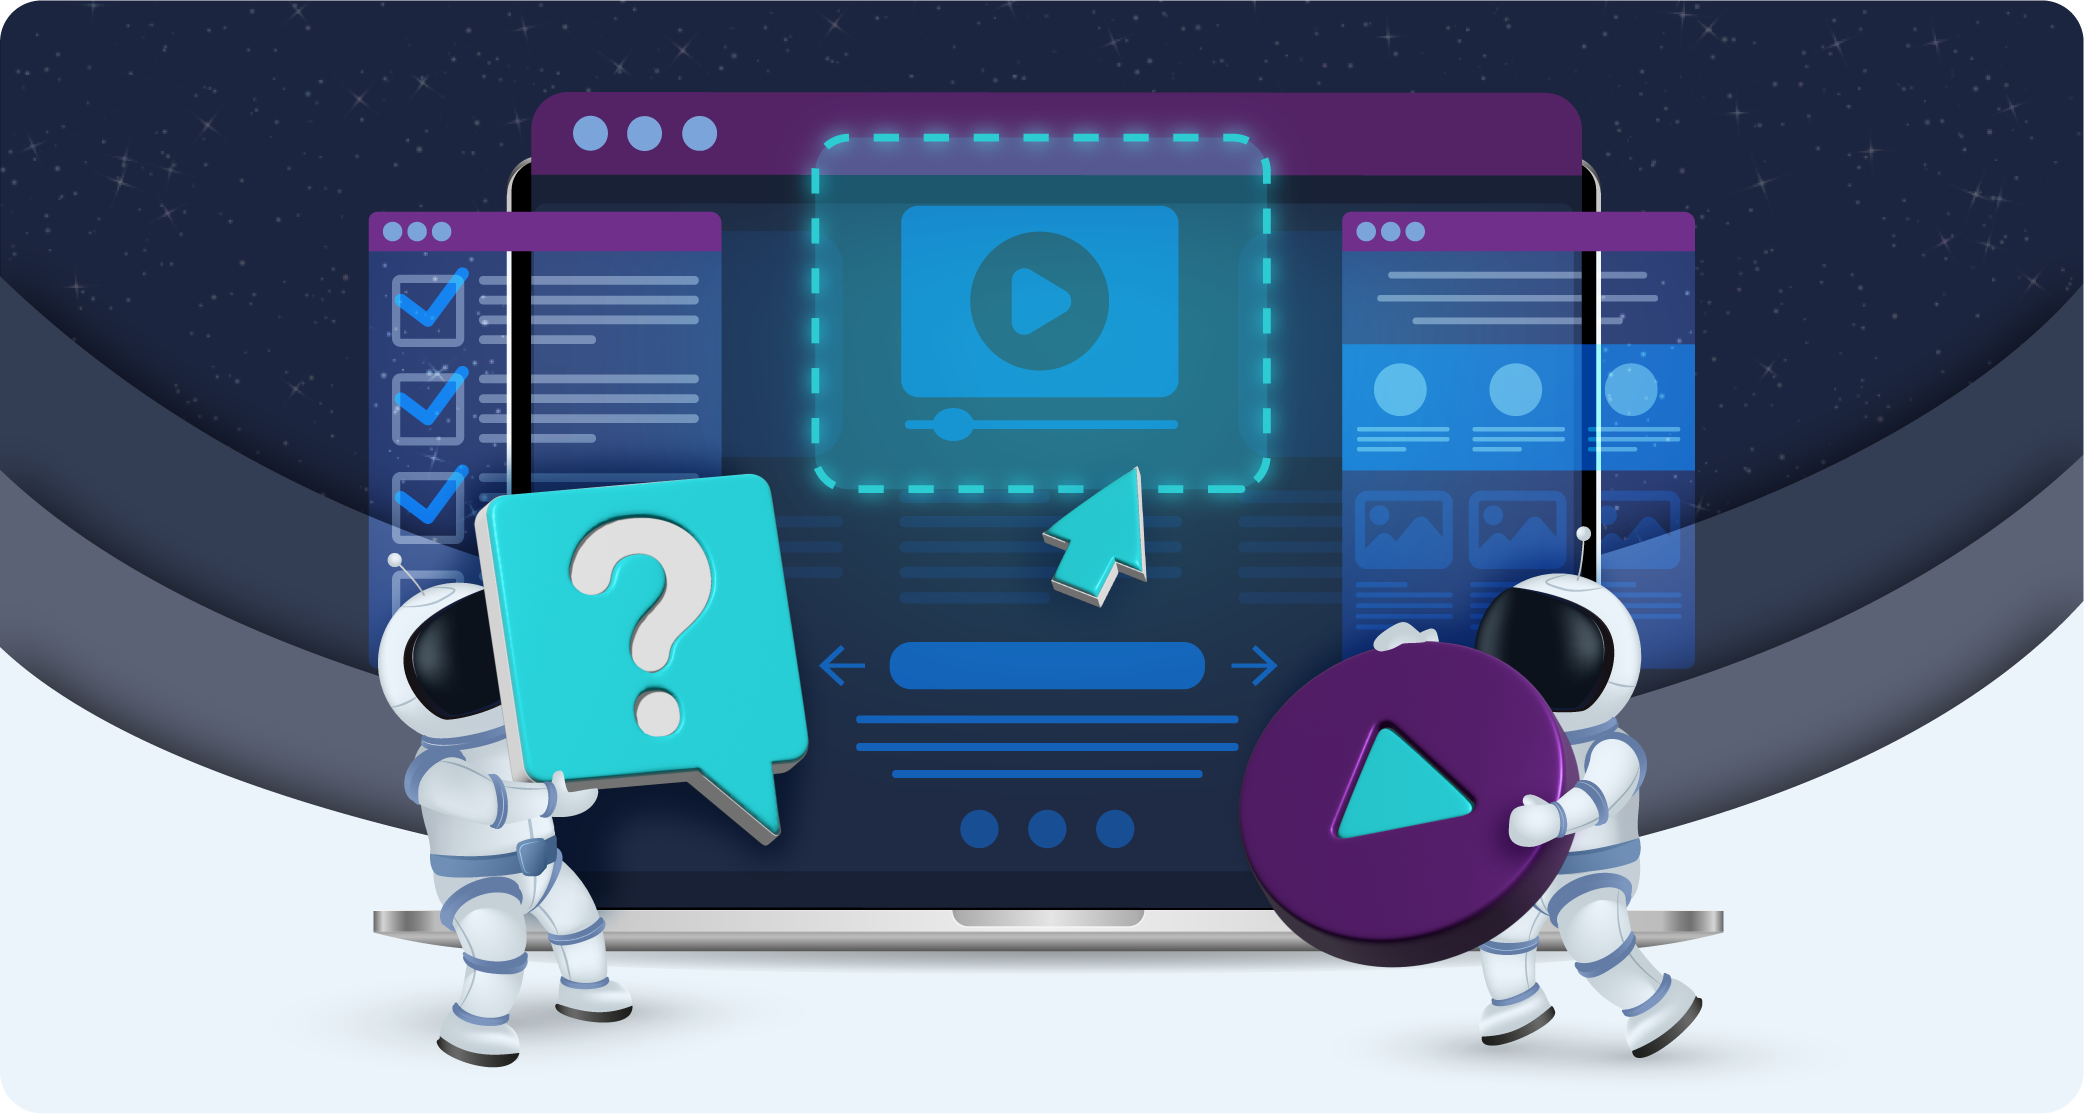
6. Test your flow
At this point, you’ll want to spot broken links or confusing steps, check the timing of automations, and ensure every email or document sent is on-brand. In order to do this, you don’t necessarily have to wait for real clients; you could run a few dummy entries through your website form. If anything’s not working, that’s your opportunity to fix it and test again before launching.
7. Launch and refine
Now it’s time to start onboarding real clients using your new system! You should pay attention to:
- Client feedback
- Tasks that still feel manual or clunky
- Opportunities to simplify even further
Don’t forget that this will be a continuous process of refinement. It’s OK if your workflows aren’t totally perfect at launch. Things are likely to come up and need tweaking. Once your core workflow is running smoothly, you can add new service packages, build different workflows for other services, introduce follow-up or offboarding sequences, and layer in new automations for tasks or team reminders.
To learn more about automating lead generation and creating lead generation automations in ClickUp, check out our other articles.
3 tools for client onboarding
To give you an overview of the tools available, here’s a rundown of 3 that you can use for client onboarding:
| Feature | Dubsado | HoneyBook | ClickUp |
| Ease of use | Learning curve | Easy | Learning curve |
| CRM / Lead tracking | Yes | Yes | Must be built by you |
| Contracts and e-signature | Yes | Yes | Must be built by you |
| Invoicing and payments | Yes | Yes | Must be built by you |
| Automations | Yes (powerful) | Yes (simple) | Yes (task-based) |
| Scheduling | Yes | Yes | Must be built by you |
| Portal for clients | Yes | Limited | Guest views |
Clearly, ClickUp varies from the others quite significantly. The main issue here is that ClickUp is predominantly a project management tool, while the others are specifically designed for client onboarding. ClickUp will work very well for you if you already use it for your project management. If you’re approaching it with a blank slate, you might feel overwhelmed by the options, as it is highly customisable.
However, you have huge control over making ClickUp work for you. You can use ClickUp to:
- Build onboarding task templates to follow the same steps with each new client
- Use Forms to capture client information directly into ClickUp
- Create internal SOPs or shareable client-facing documents
- Trigger actions like task creation, status changes, or reminders
- Add clients as guests for visibility, or use shared views for progress updates
- Integrate calendars, time tracking, and communication tools
Even though ClickUp lacks a few features natively, you can still build them yourself with Forms, Tasks, and automations. This will require more setup time and effort compared to the other tools, but there’s a lot of value in having ClickUp set up for your unique workflow.
ClickUp is best for teams or individuals managing complex projects as it’s highly customisable for project and workflow management, beyond client onboarding.
HoneyBook, on the other hand, is ideal for creative professionals and small businesses wanting simplicity and a sleek interface. You’ll be able to manage your inquiries, onboarding, projects, and payments in one place, getting set up quickly and with access to polished templates.
You can also use HoneyBook to:
- Give clients the ability to easily book meetings and discovery calls
- Use e-signature fields for easy, legal digital signing of contracts
- Track leads in your pipeline by stage (inquiry, booked, archived, etc.)
- Create simple sequences for follow-ups, file delivery, or task reminders
- View project timelines and activity logs
- Use interactive documents that combine proposals, contracts, and payments
If you’re a solo user or part of a small team, HoneyBook might be ideal. It’s very user-friendly and lacks complexity, which may be perfect for you if you don’t need a great deal of customisation.
Comparatively, Dubsado offers quite a bit of customisation. There’s a steeper learning curve, and you may initially feel that the interface is clunky, but Dubsado is best if you want detailed control over onboarding with branded forms, contracts, and automations.
Dubsado allows you to:
- Embed lead capture forms on your website to automatically collect and funnel new inquiries
- Automate the sending of emails, contracts, and invoices on a set schedule
- Send branded contracts for clients to sign digitally
- Combine proposals, contracts, and invoices into one seamless onboarding flow
- Give clients access to log in and view their documents, forms, and invoices in one place
While there’s a steeper learning curve with Dubsado, you can have greater complexity in your automations than with HoneyBooks. If you have a multi-step onboarding process, you’ll be able to build a workflow better suited to your business with this option.
Nebula: How we can help
Nebula is our automation service designed to streamline your operations. Our work with you will reduce your manual workload, enhance client experiences, and support your growth by building the automation and integration solutions you need.
We understand that every business has its preferred tools and ways of doing things. That’s why we find ways to connect your systems in a way that feels natural to you. We can automate repetitive tasks across various business functions, including client onboarding, invoicing, and project management.
We can connect your existing tools like CRMs, ClickUp, and invoicing systems using platforms such as Make or Zapier, ensuring seamless data flow between them.
If you’re facing overwhelming manual workloads, time-consuming administrative tasks, a lack of visibility into project statuses, and inconsistent processes, get in touch with us today.
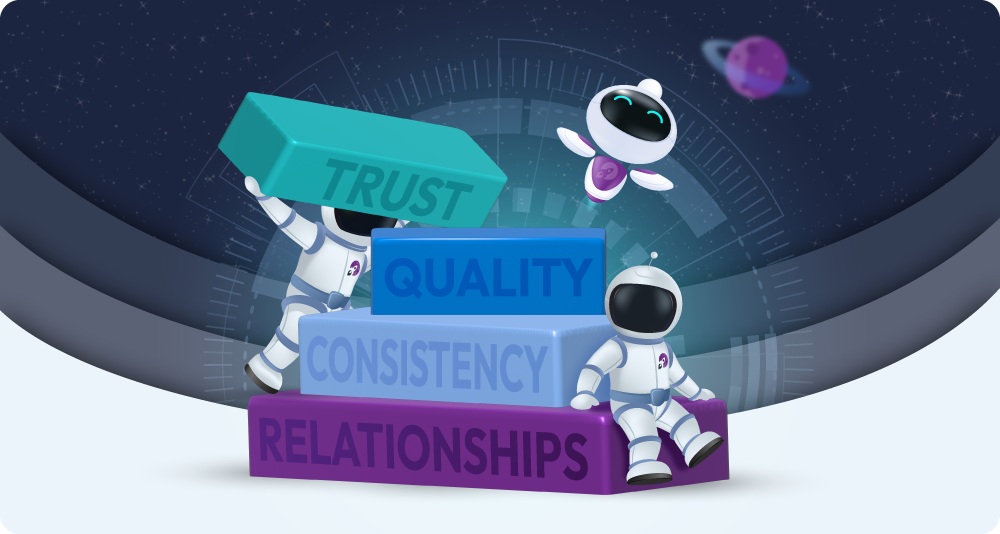
Our clients have experienced significant improvements in efficiency, consistency, and client satisfaction after using our nebula service. Reach out below to speak with us about your business’s needs and how we can develop an action plan that suits you best: